So, my initial attempt at the floor framing for the coop had to be redone. I thought that I could get away with the gaps that were between the framing and the plywood, but it was just eating at me - to the point that I had trouble sleeping. I decided to take everything apart, cut off the extra three inches for the framing end cap boards, and put everything back together. This seemingly simple task actually took me most of the week. I don't have nearly as much time to devote to the project during the week as I do on the weekends, so most of it had to wait until today. I took everything apart during the week, and put it all back together today. I also reworked the wall framing structure to something more solid - read as 'it uses more wood.'
The good news is that I have completely given up on using nails for this project. The 4 inch galvanized nails that I had been using bent way too easily and quite often took a long time to hammer in. I was also using up a lot of my own energy hammering the nails in, and got tired pretty quickly. I have now switched to using screws for everything, which means that all the hard work is passed off to my drill instead of my muscles :). This has the added benefits of not having to worry about bent nails or the time it takes to hammer in the nails. I was able to put together two wall frames in a fraction of the time it took to put together the floor frame, and with minimal effort!
Another bit of good news is that my Father In-Law has some 3 ft x 3 ft windows left over from a recent remodel that he is willing to give us for the coop - score! I thought I was going to have to make something out of acrylic, but I am very happy to be getting actual windows for this thing - woo hoo!
So, here are the pictures of the current progress for the day: 2 wall frames up, flooring re-done and leveled, and a new construction technique discovered to save huge amounts of time!
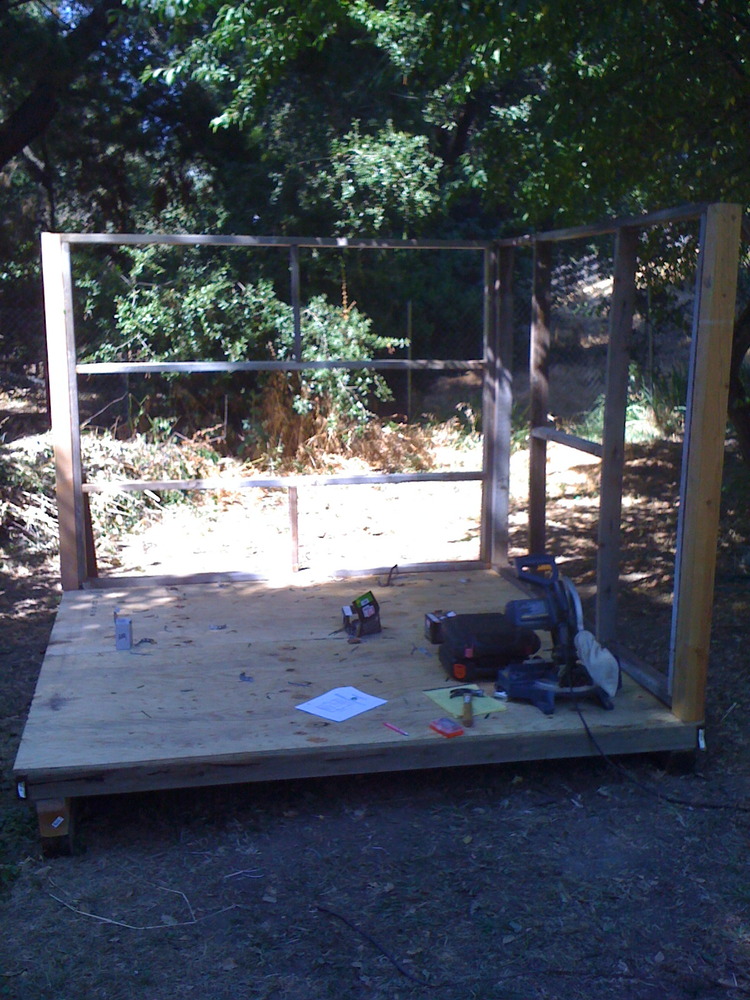
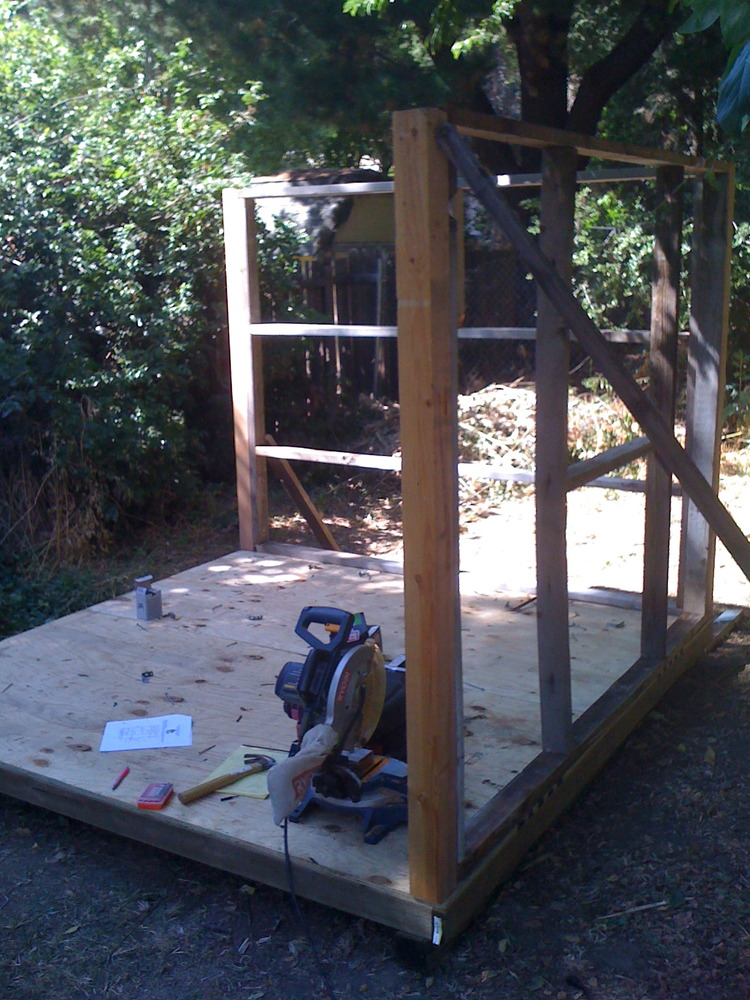
Next steps: finish wall frames and roof beams, then on to the nesting boxes and wall panels.
Chris